Images
Exercise
- Download the image from this GitHub repository: https://github.com/learn2buildapps/HTML_Images/blob/main/images/pizza.jpg
- Place the images that you just downloaded in the same location as the "index.html" file.
- In the "index.html" file, write the following code:
<!DOCTYPE html>
<html lang="en">
<head>
  <meta charset="UTF-8">
  <meta http-equiv="X-UA-Compatible" content="IE=edge">
  <meta name="viewport" content="width=device-width, initial-scale=1.0">
  <title>My First Web Page</title>
</head>
<body>

</body>
</html>
- Save.
- If "Live Server" is not already running, right-click anywhere in the editor and select "Open with Live Server" from the context menu.
- Add the following between the opening and closing body tags:
<h1>Pizza!</h1>
<img src="./pizza.jpg" alt="picture of a pizza">
- Save.
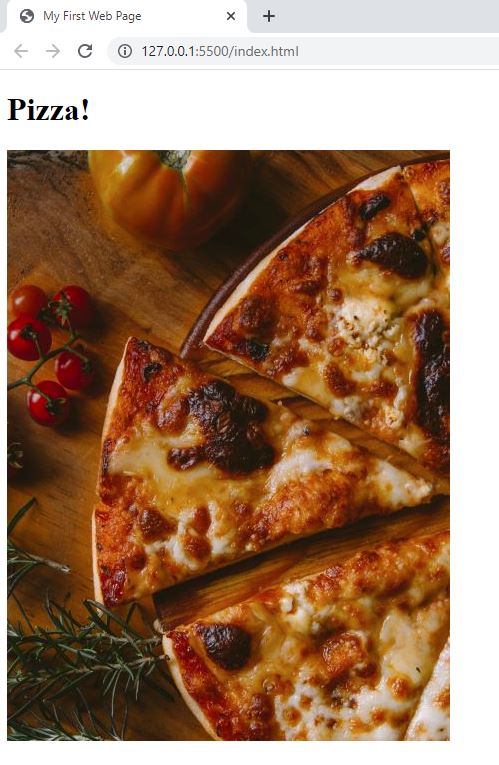
- In the browser, you should see the following:
- Now edit the code again and misspell the name of the image file in the "src" attribute like this:

<img src="./piz.jpg" alt="picture of a pizza">
- Save.
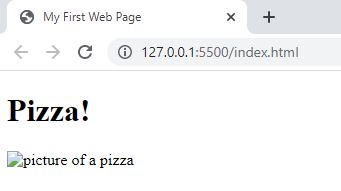
- In the browser, you should now see the text in the "alt" attribute of the image tag displayed like this:
- Right-click on the "HTML" folder and then click on "New Folder".
- Name the new subfolder "images".
- Move the pizza image file to the "images" folder by dragging and dropping it into the folder.
- Edit the code in the "index.html" file so that the "src" attribute points to the new location of the image file:

<img src="./images/pizza.jpg" alt="picture of a pizza">
- Save.
- You should see the pizza image displayed again.
- Edit the code in the "index.html" file so that the "src" attribute points to a web URL:
<img src="https://github.com/learn2buildapps/HTML_Images/blob/main/images/pizza.jpg?raw=true" alt="picture of a pizza">
- Save.
- You should still see the pizza image displayed.
Code Walkthrough and Explanation
<img src="./pizza.jpg" alt="picture of a pizza">
The <img> tag in HTML is used to embed images in a web page. It is an example of a
self-closing
tag. The src attribute is used to specify the source file of the image, while the alt
attribute provides alternative text to be displayed if the image cannot be loaded or if the user is using a
screen
reader. The alt attribute is an important accessibility feature, as it provides information about
the
image to users with visual impairments who are using screen readers. The text in the alt attribute
should
be a concise, meaningful description of the image that provides context and helps the user understand what the
image
represents. The ./pizza.jpg in the exercise example means that the pizza.jpg file is in the same
directory as the index.html file.
<img src="./images/pizza.jpg" alt="picture of a pizza">
In much larger web sites that contain tons of images, it's common practice to organize the images in folders and subfolders.
<img src="https://github.com/learn2buildapps/front_to_back/blob/main/exercise004/images/pizza.jpg?raw=true" alt="picture of a pizza">
In the last part of the exercise, instead of pointing to an image stored with the HTML files, we pointed it to a remote location such as GitHub.
Experiment with the Code
- Try adding your own image to the "image" folder and adding another
<img>tag to point to it.
Video and Code References
Questions? Subscribe and ask in the video comments: