Links
Exercise
- In the "index.html" file, write the following code:
<!DOCTYPE html>
<html lang="en">
<head>
  <meta charset="UTF-8">
  <meta http-equiv="X-UA-Compatible" content="IE=edge">
  <meta name="viewport" content="width=device-width, initial-scale=1.0">
  <title>My First Web Page</title>
</head>
<body>

</body>
</html>
- Save.
- If "Live Server" is not already running, right-click anywhere in the editor and select "Open with Live Server" from the context menu.
- Add the following between the opening and closing tags of the body:
<!-- Link to Google -->
<a href="https://www.google.com">Link to Google</a>
- Save
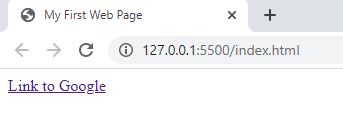
- In the browser, you should see the following:
- Clicking on the link will bring you to the Google page.
- Hit the back button on your browser to go back to your page.
- Update the code and add a "target" attribute to the "a" tag with a value of "_blank":

<a href="https://www.google.com" target="_blank">Link to Google</a>
- Save.
- The page will look the same as before but when you click on the link, it will open up a new tab to show the Google page.
- Back in VSCode, create a new file and call it "products.hmtl"
- In the "products.html" page, write the following code:
<!DOCTYPE html>
<html lang="en">
<head>
  <meta charset="UTF-8">
  <meta http-equiv="X-UA-Compatible" content="IE=edge">
  <meta name="viewport" content="width=device-width, initial-scale=1.0">
  <title>Products</title>
</head>
<body>
  <!-- Link to return to home page -->
  <a href="./index.html">Back to Home</a>
</body>
</html>
- Save.
- Update the code in the "index.html file and add the following under code under the link to Google:
<!-- Link to the Products Page -->
<a href="./products.html">Link to Products</a>
- Save.
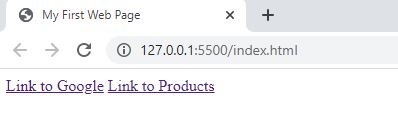
- In the browser, you should now see a second link called "Link to Products" next to the "Link to Google":
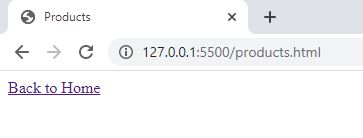
- Click on the link and it should bring you to another page that shows a link called "Back to Home":
- Click on the "Back to Home" link and it will bring you back to the "index.html" page.


Code Walkthrough and Explanation
<a href="https://www.google.com">Link to Google</a>
The <a> tag in HTML stands for "anchor" and is used to create hyperlinks. The
href attribute is used to specify the URL or web address of the page that should open up when
someone
clicks the link. The text between the opening and closing <a> tags is displayed as the
clickable
text of the link.
Links are a fundamental part of the web, and the <a> tag is one of the most commonly used
HTML
elements. They allow users to easily navigate between pages, websites, and other online resources.
<a href="https://www.google.com" target="_blank">Link to Google</a>
The target attribute in the <a> tag is used to specify where to open the linked
document. This is particularly useful when you want to open a linked document in a new browser window or tab,
rather
than navigating away from the current page.
In the above example, the target atribute is set to "_blank", which means
that
when the user clicks on the link, the linked document will be opened in a new browser window or tab.
The target attribute can also be set to "_self", which means that the
linked
document will replace the current page. This is the default behavior so it works the same if omit the
target attribute completely.
Experiment with the Code
- Try adding an image and make the image into a link. (Hint: put the image tag between the opening an closing tags of a link element.)
Video and Code References
Questions? Subscribe and ask in the video comments: